
How To Paint Metal Lamps – Master Bedroom Refresh
*This post contains affiliate links.*
This week we got home to Florida after spending a month in Nebraska with family and after being away for a month I finally felt the motivation to start turning our house into a home.
We moved into our house a few months ago and with all of the furniture shortages, and us trying to budget decorating got put on the back burner.
Well not anymore, I’m putting it on the front burner.
The first challenge I’m taking on is the lamps in our master bedroom because it feels like the smallest project.
About Our Master Bedroom
Our master bedroom furniture is all old Ashley Furniture that we’ve had for years and years it’s definitely not on trend but it’s all in decent condition. I’d love to replace it with something more my style but that just isn’t in the budget right now so I’m going to try my best to refresh the room while keeping our current furniture.
About the lamps
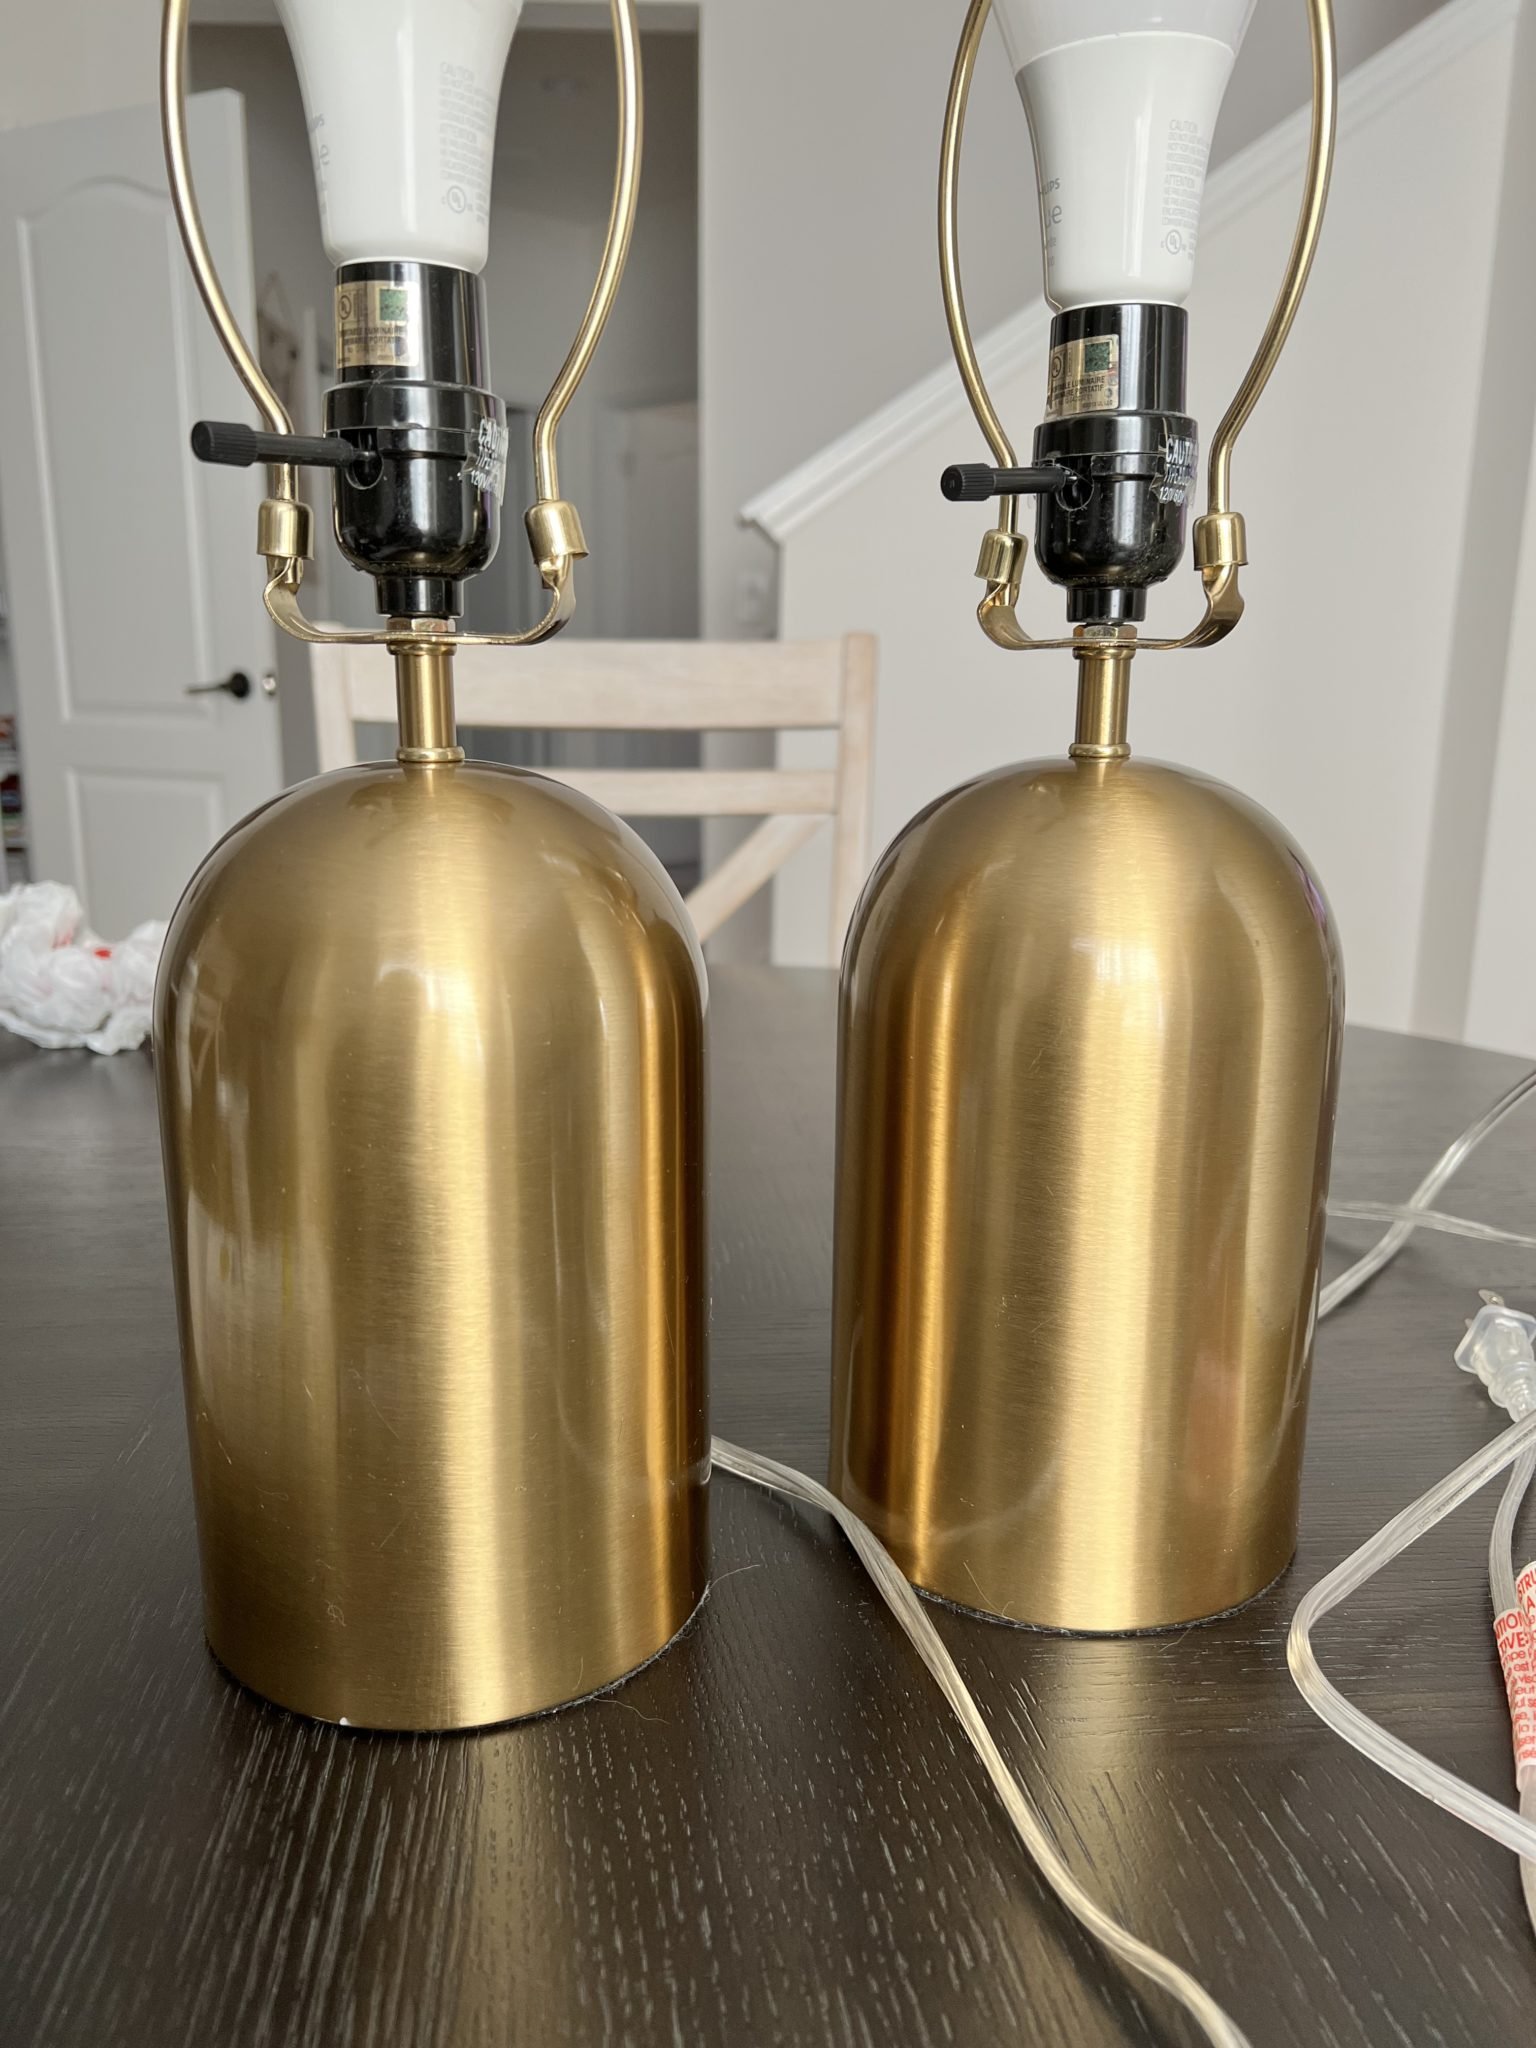
I bought these gold metal lamps a few years ago at Target for pretty cheap but I’m not sure what I was trying to accomplish because they don’t match our furniture or space at all.

I think I had high hopes of replacing the furniture but here we are almost three years later with the same lamps and same furniture.
I like the shape of the lamps but they just don’t match the furniture or the vibe I’m going for, and instead of buying new I wanted to try and paint the lamps.
Here is the vibe I’m going for with the lamps.

What You Need to Paint Metal Lamps.
‘m impatient so I didn’t read any tutorials or head to home depot before trying out this project I simply just headed back to my favorite place (Target lol) and bought what I thought I could recreate this with.
Here is what I bought

Total project cost: $18.40
How to Paint Metal Lamps
Clean & Sand: I started by whipping off the lamps with a damp paper towel and then lightly sanding them to give the paint something to better adhere to. After sanding I whipped them off again to clean off and dust.
Mix Paint & Baking Soda: Into a bowl, I poured the entire container of white paint, half a teaspoon of the burnt umber, and two teaspoons of baking soda together in a bowl.
I then used the paint brush to mix the paint and baking soda together. I added a few more drops of burnt umber paint until I got to my desired light tan shade.
Paint The lamps: Once I got my paint to my desired color I painted the lamps. One coat was enough for me to achieve the color I was looking for.
Let the lamps dry: I let the lamps dry for about 30 minutes after I finished painting.
Spray with matte topcoat: Then I headed outside and sprayed one coat of matte spray paint.
Let the lamps dry: I let the lamps dry outside for an hour and then brought them in and reassembled them.
Before & After
Here is what the lamp looked like before & after I painted it:

& here is the whole room together!

Would I recommend this DIY?
If you don’t like the look of a lamp that you own I think this is a great quick and cheap fix.